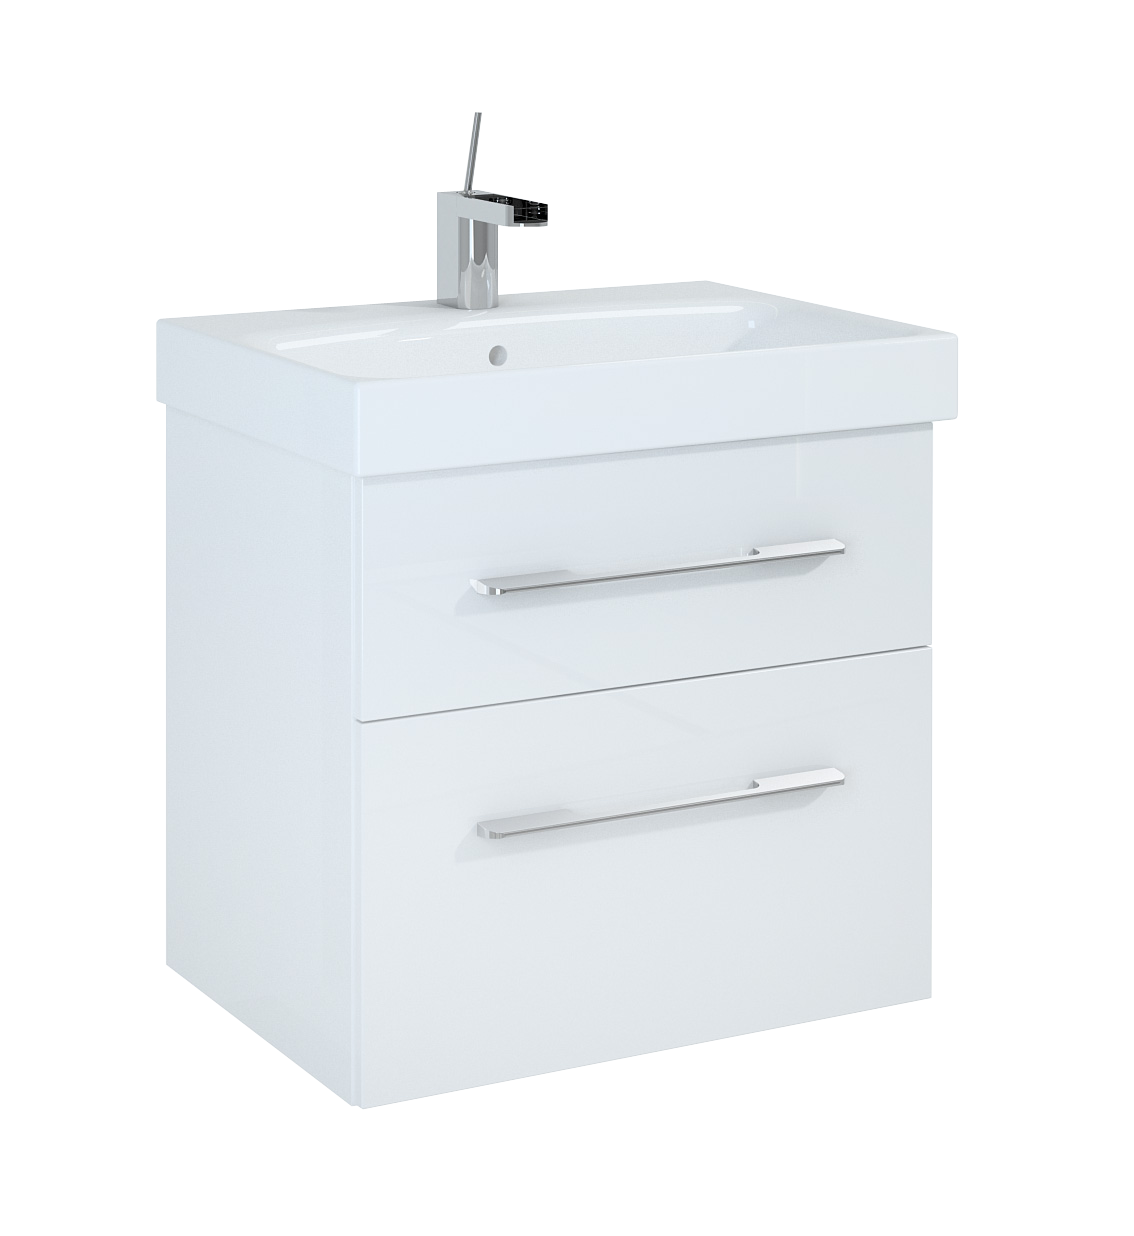
Bathroom furniture assembly.
There are two ways to install bathroom furniture, which result from the fact what type of furniture we bought.

Furniture can be suspended or standing (on a pedestal, on legs or on the sides of the cabinet). Due to the usability (easy to clean), we are increasingly choosing furniture with legs and suspended furniture. Installation of suspended furniture is more labor-intensive, because it is necessary to determine exactly where to drill holes for hangers and to level the furniture itself.
General rules for the assembly of furniture:
- Follow the manufacturer’s instructions in the installation instructions.
- IMPORTANT – the type of wall (brick, concrete, lightweight construction – plasterboard) determines the type of fastening (hooks, mounting strips, screws), some manufacturers provide the necessary elements and sometimes you have to buy them yourself.
- In the case of suspended furniture, leveling is necessary.
- We choose studs appropriate for the type of wall.
- Each piece of furniture should be permanently attached to the wall, regardless of whether it is a suspended or standing cabinet.
- After installation, adjust the following: hinges – for furniture with doors, guides – for furniture with drawers (see instructions).
- In the case of washbasin cabinets with washbasins that have fixing holes, it is worth to attach the washbasin to the wall for safety.
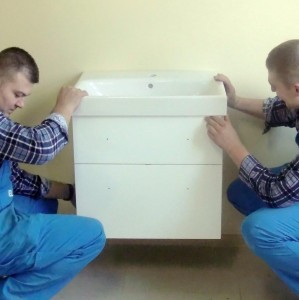
Below are photos that show step by step the installation of suspended bathroom furniture.

1. We unpack the cabinet and the washbasin from cardboard boxes, remove the protections such as: foil, tape, corners.
2. We measure the height at which the cabinets are to be hung. According to the building law, the cabinet together with the washbasin should be hung between 80 and 90cm high, usually 85cm. It is worth measuring the wall plumb.


3. We measure the distance at which the pendants are located.
4. We measure the spacing between hangers.


5. We transfer the measurements made to the wall, taking into account the need to level the holes.
6. We drill holes for mounting strips and fix them permanently to the wall (we use wall plugs appropriate for the type of wall).


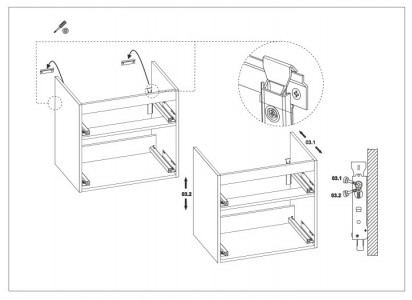
7. We loosen the pendants to attach to the mounting strips.
8. We hang the cabinet on mounting strips.


9. We check the correctness of assembly.
10. Thanks to the use of hangers, it is possible to perfectly level the furniture, which is very important from the point of view of use: easy drainage of water from the sink, the proper functioning of drawers.

